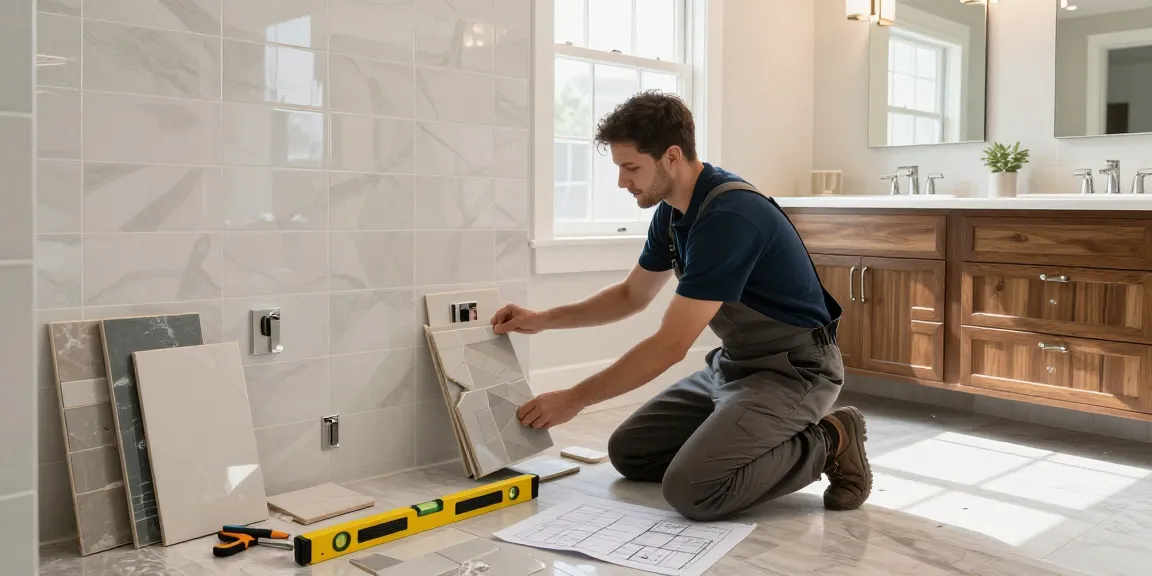
Understanding Spray Foam Removal Kent
What is Spray Foam Insulation?
Spray foam insulation is a modern building material predominantly used for its thermal and acoustic insulation properties. Composed of a mixture of polyols and diisocyanates, it expands upon application to fill voids, gaps, and cracks, creating a continuous barrier against air and moisture. This characteristic makes spray foam insulation an excellent option for homeowners looking to enhance energy efficiency and comfort. However, its benefits come with caveats; when improperly applied, it can lead to issues that necessitate spray foam removal Kent.
Reasons for Removal of Spray Foam
Several reasons may prompt the removal of spray foam insulation. These reasons often revolve around health, structural integrity, or changes in building regulations:
- Allergies and Health Concerns: Some individuals may experience allergic reactions or respiratory issues due to the off-gassing of chemicals present in spray foam.
- Mold Growth: If moisture infiltrates the spray foam, it can lead to mold and mildew, which compromise air quality and structural safety.
- Improper Installation: Mistakes made during installation can lead to gaps that diminish insulation efficiency, necessitating removal and reapplication.
- Home Renovations: Major renovations can render existing spray foam unnecessary or incompatible with new building materials.
- Regulatory Compliance: Changes in building codes or regulations may require the upgrade or removal of insulation materials.
Common Challenges During Removal
Removing spray foam insulation is not without its challenges. Here are some issues that professionals often encounter:
- Adhesion Issues: The strong adhesive properties of spray foam make it difficult to detach from surfaces without damaging the underlying material.
- Health Risks: The chemicals in spray foam can be hazardous, and protective equipment is mandatory for safe removal.
- Time-Consuming Process: Removal can be labor-intensive, especially if multiple layers of foam have been applied over time.
- Debris Cleanup: The removal process generates a significant amount of debris that must be managed and disposed of properly.
Tools and Equipment for Spray Foam Removal Kent
Essential Tools for Effective Removal
The following tools and equipment are essential for effective spray foam removal:
- Oscillating Multi-Tool: This tool can help cut through the foam without damaging underlying materials.
- Foam Scraper: Specifically designed for foam, scrapers come in various sizes to tackle different areas effectively.
- Utility Knife: A sharp utility knife can be used to slice through foam layers, but caution is needed to avoid damaging the surface beneath.
- Shop Vacuum: A powerful vacuum is crucial to clean up foam debris and particulate matter during the removal process.
Safety Equipment to Consider
When tackling spray foam removal, safety should be a priority. Recommended safety equipment includes:
- Respirators: Wear a respirator equipped with chemical filters to avoid inhaling harmful fumes.
- Nitrile Gloves: These gloves protect hands from harmful chemicals and sharp tools.
- Eye Protection: Safety goggles or glasses should be worn to prevent any foam particles from contacting the eyes.
- Protective Clothing: Long sleeves and pants, along with coveralls, help protect skin from contact with spray foam.
Techniques for Efficient Foam Extraction
Employing effective techniques can streamline the spray foam removal process:
- Dampening Method: Lightly dampening the foam can reduce dust and improve ease of removal.
- Layer by Layer Removal: Instead of attempting to remove large sections, focus on smaller layers for better control.
- Use Heat Wisely: Apply heat cautiously to soften the foam, making it easier to scrape away without damaging surfaces.
Step-by-Step Guide to Spray Foam Removal Kent
Preparing the Workspace
Before starting the removal process, it’s crucial to prepare the workspace adequately:
- Clear the Area: Remove all furniture and belongings from the vicinity to avoid damage.
- Seal Off Ventilation: To contain dust and fumes, seal off ventilation ducts and doorways with plastic sheeting.
- Gather Tools: Assemble all necessary tools and safety equipment for efficient workflow.
Removing the Foam Safely
Follow these steps for safe and effective removal:
- Wear Protective Gear: Ensure all safety equipment is worn before starting the process.
- Score the Foam: Use an oscillating tool or utility knife to score the foam at a manageable height.
- Scrape the Foam: Use a scraper or putty knife to pry the foam away from the surface, taking care not to damage the substrate.
- Vacuum as You Go: Use a shop vacuum to reduce dust and keep the workspace clean as you work.
Cleaning the Area Post-Removal
Once the foam has been removed, thorough cleaning is necessary:
- Inspect the Area: Check for any residual foam or damage to the surface.
- Disposal of Debris: Dispose of the removed foam according to local regulations, as it may be classified as hazardous waste.
- Final Clean: Vacuum the area thoroughly, ensuring no dust remains.
DIY vs. Professional Spray Foam Removal Kent
When to Hire a Professional?
Deciding whether to tackle spray foam removal yourself or hire a professional often hinges on several factors:
- Extent of Removal: For small, localized areas, DIY may be viable, while extensive removal often requires professional expertise.
- Health Risks: If there are concerns about chemical exposure, hiring professionals trained in safe removal should be prioritized.
- Time Constraints: If time is a factor, a professional team can execute the job efficiently and quickly.
Cost Comparison: DIY vs. Professional Services
Understanding cost dynamics can help you make informed decisions:
- DIY Costs: While DIY removal may seem more economical due to labor savings, consider the potential costs of tools, safety equipment, and any mistakes made.
- Professional Costs: Hiring professionals incurs higher upfront costs but often ensures a safer and more thorough job.
Risks of DIY Removal
While DIY removal can be tempting, there are inherent risks, including:
- Health Hazards: Exposure to harmful chemicals without proper safety measures can lead to health complications.
- Structural Damage: Improper removal techniques may inadvertently damage the building’s structure or surfaces beneath the foam.
- Inadequate Cleanup: DIY efforts may result in leftover debris or inadequate surface preparation for subsequent insulation.
Post-Removal Considerations and Maintenance
Evaluating Damage Post-Removal
After removing spray foam insulation, it is vital to evaluate any damage that might have occurred:
- Inspect Surfaces: Look for signs of water damage, structural damage, or missing materials.
- Assess Insulation Needs: Determine if insulation is needed in the removed areas and consider alternative insulating materials.
Best Practices for Future Insulation
To avoid future issues with insulation, consider these best practices:
- Professional Installation: Always use certified professionals to install insulation, ensuring compliance with building codes and guidelines.
- Regular Inspections: Schedule periodic inspections to catch any emerging issues early.
- Humidity Control: Maintain appropriate humidity levels in the home to prevent mold growth.
FAQs Regarding Spray Foam Removal Kent
1. How long does it take to remove spray foam insulation?
The timeframe for removal varies based on the area size but typically ranges from a few hours to several days for extensive projects.
2. Can I remove the foam without damaging the walls?
It’s possible, but it requires skill and the right tools to minimize risks of damaging underlying surfaces.
3. What should I do if I encounter mold behind the foam?
If mold is found, it’s essential to consult a professional mold remediation service to ensure safe handling and cleanup.
4. Is special training needed for spray foam removal?
While not mandatory, training in hazardous materials handling and safe removal practices is highly beneficial.
5. How can I prevent issues with insulation in the future?
Regular maintenance and choosing high-quality insulation materials, installed by professionals, can prevent future issues.